Manjaro VM
At first, installing ArchLinux or Manjaro into a libvirt VM was looking to be difficult. The virt-install program only supports adding the extra kernal arguments that would enable a tty console when also run with the --location argument. Neither ArchLinux nor Manjaro provide a location that virt-install understands. Rather, both provide an ISO image to boot from. With no console to attach to, I thought I was not going to be able to proceed.
However, after studying more about the virt-viewer program1, I came to realize that I could remotely connect to the virtual graphical console set up when using --cdrom and --graphics as part of running virt-install. This allows me to run virt-viewer from my Pixelbook and still connect to the command-line-only homelab server.
On homelab server:
virt-install --virt-type=kvm \
  --name Manjaro \
  --ram=2048 \
  --vcpus 2 \
  --os-type linux \
  --os-variant archlinux \
  --cdrom=./manjaro-xfce-20.0.3-200606-linux56.iso \
  --disk size=50 \
  --network bridge=br0,model=virtio \
  --graphics vnc
On Pixelbook:
virt-viewer --connect qemu+ssh://user@homelab/system Manjaro
The really nice thing is that I can pull up the whole graphical desktop of the Manjaro VM using virt-viewer, without having to install a VNC server on the VM.
ArchLinux
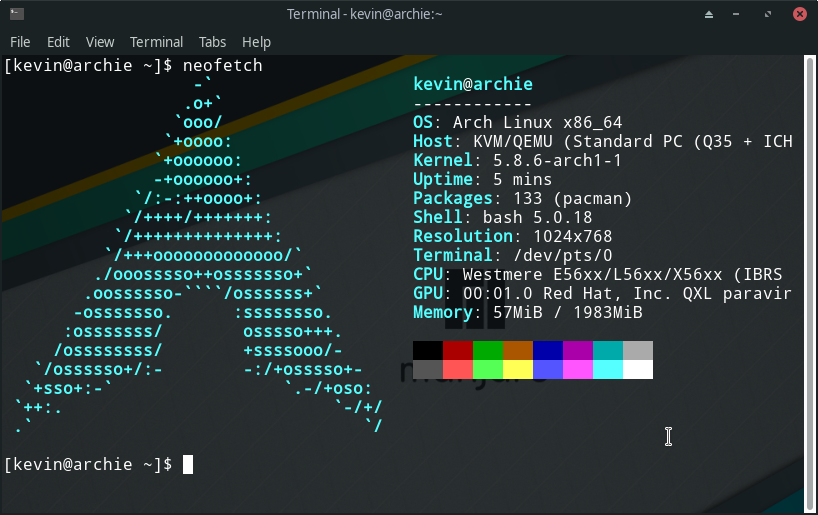
With the virt-viewer trick under my belt, I was able to also get an ArchLinux VM up and running.
virt-install --virt-type=kvm \
  --name ArchLinux \
  --ram=2048 \
  --vcpus 1 \
  --os-type linux \
  --os-variant archlinux \
  --cdrom=./archlinux-2020.08.01-x86_64.iso \
  --disk size=50 \
  --network bridge=br0,model=virtio \
  --graphics vnc
It took me three tries to get it right. I mistakenly assumed that the virtual machine was set up using EFI booting, when it was actually set up using BIOS booting.

Maybe now I can say: BTW, I use Arch.
Gitea Server
The semi-public Gitea Server that I have shared code on in earlier articles was installed using Gitea's Installation with Docker instructions. I decided that I wanted a separate Gitea instance running on my homelab server, for repositories which I expect never to share, such as VM configurations.
Rather than going down the Docker installation route again, I instead opted to install Gitea directly on the bare metal. I chose to use MariaDB for the database, and followed along with the MySQL instructions on Database Preparation to get the database ready. From there, Installation from binary was straightforward to follow, followed by Run Gitea as a Linux Service to ensure that Gitea would start up upon reboot.
All in all, it didn't take long at all to install Gitea directly on the server. The experience of setting it up directly rather than relying on cut-and-paste from an example docker-compose file was definitely worth it.